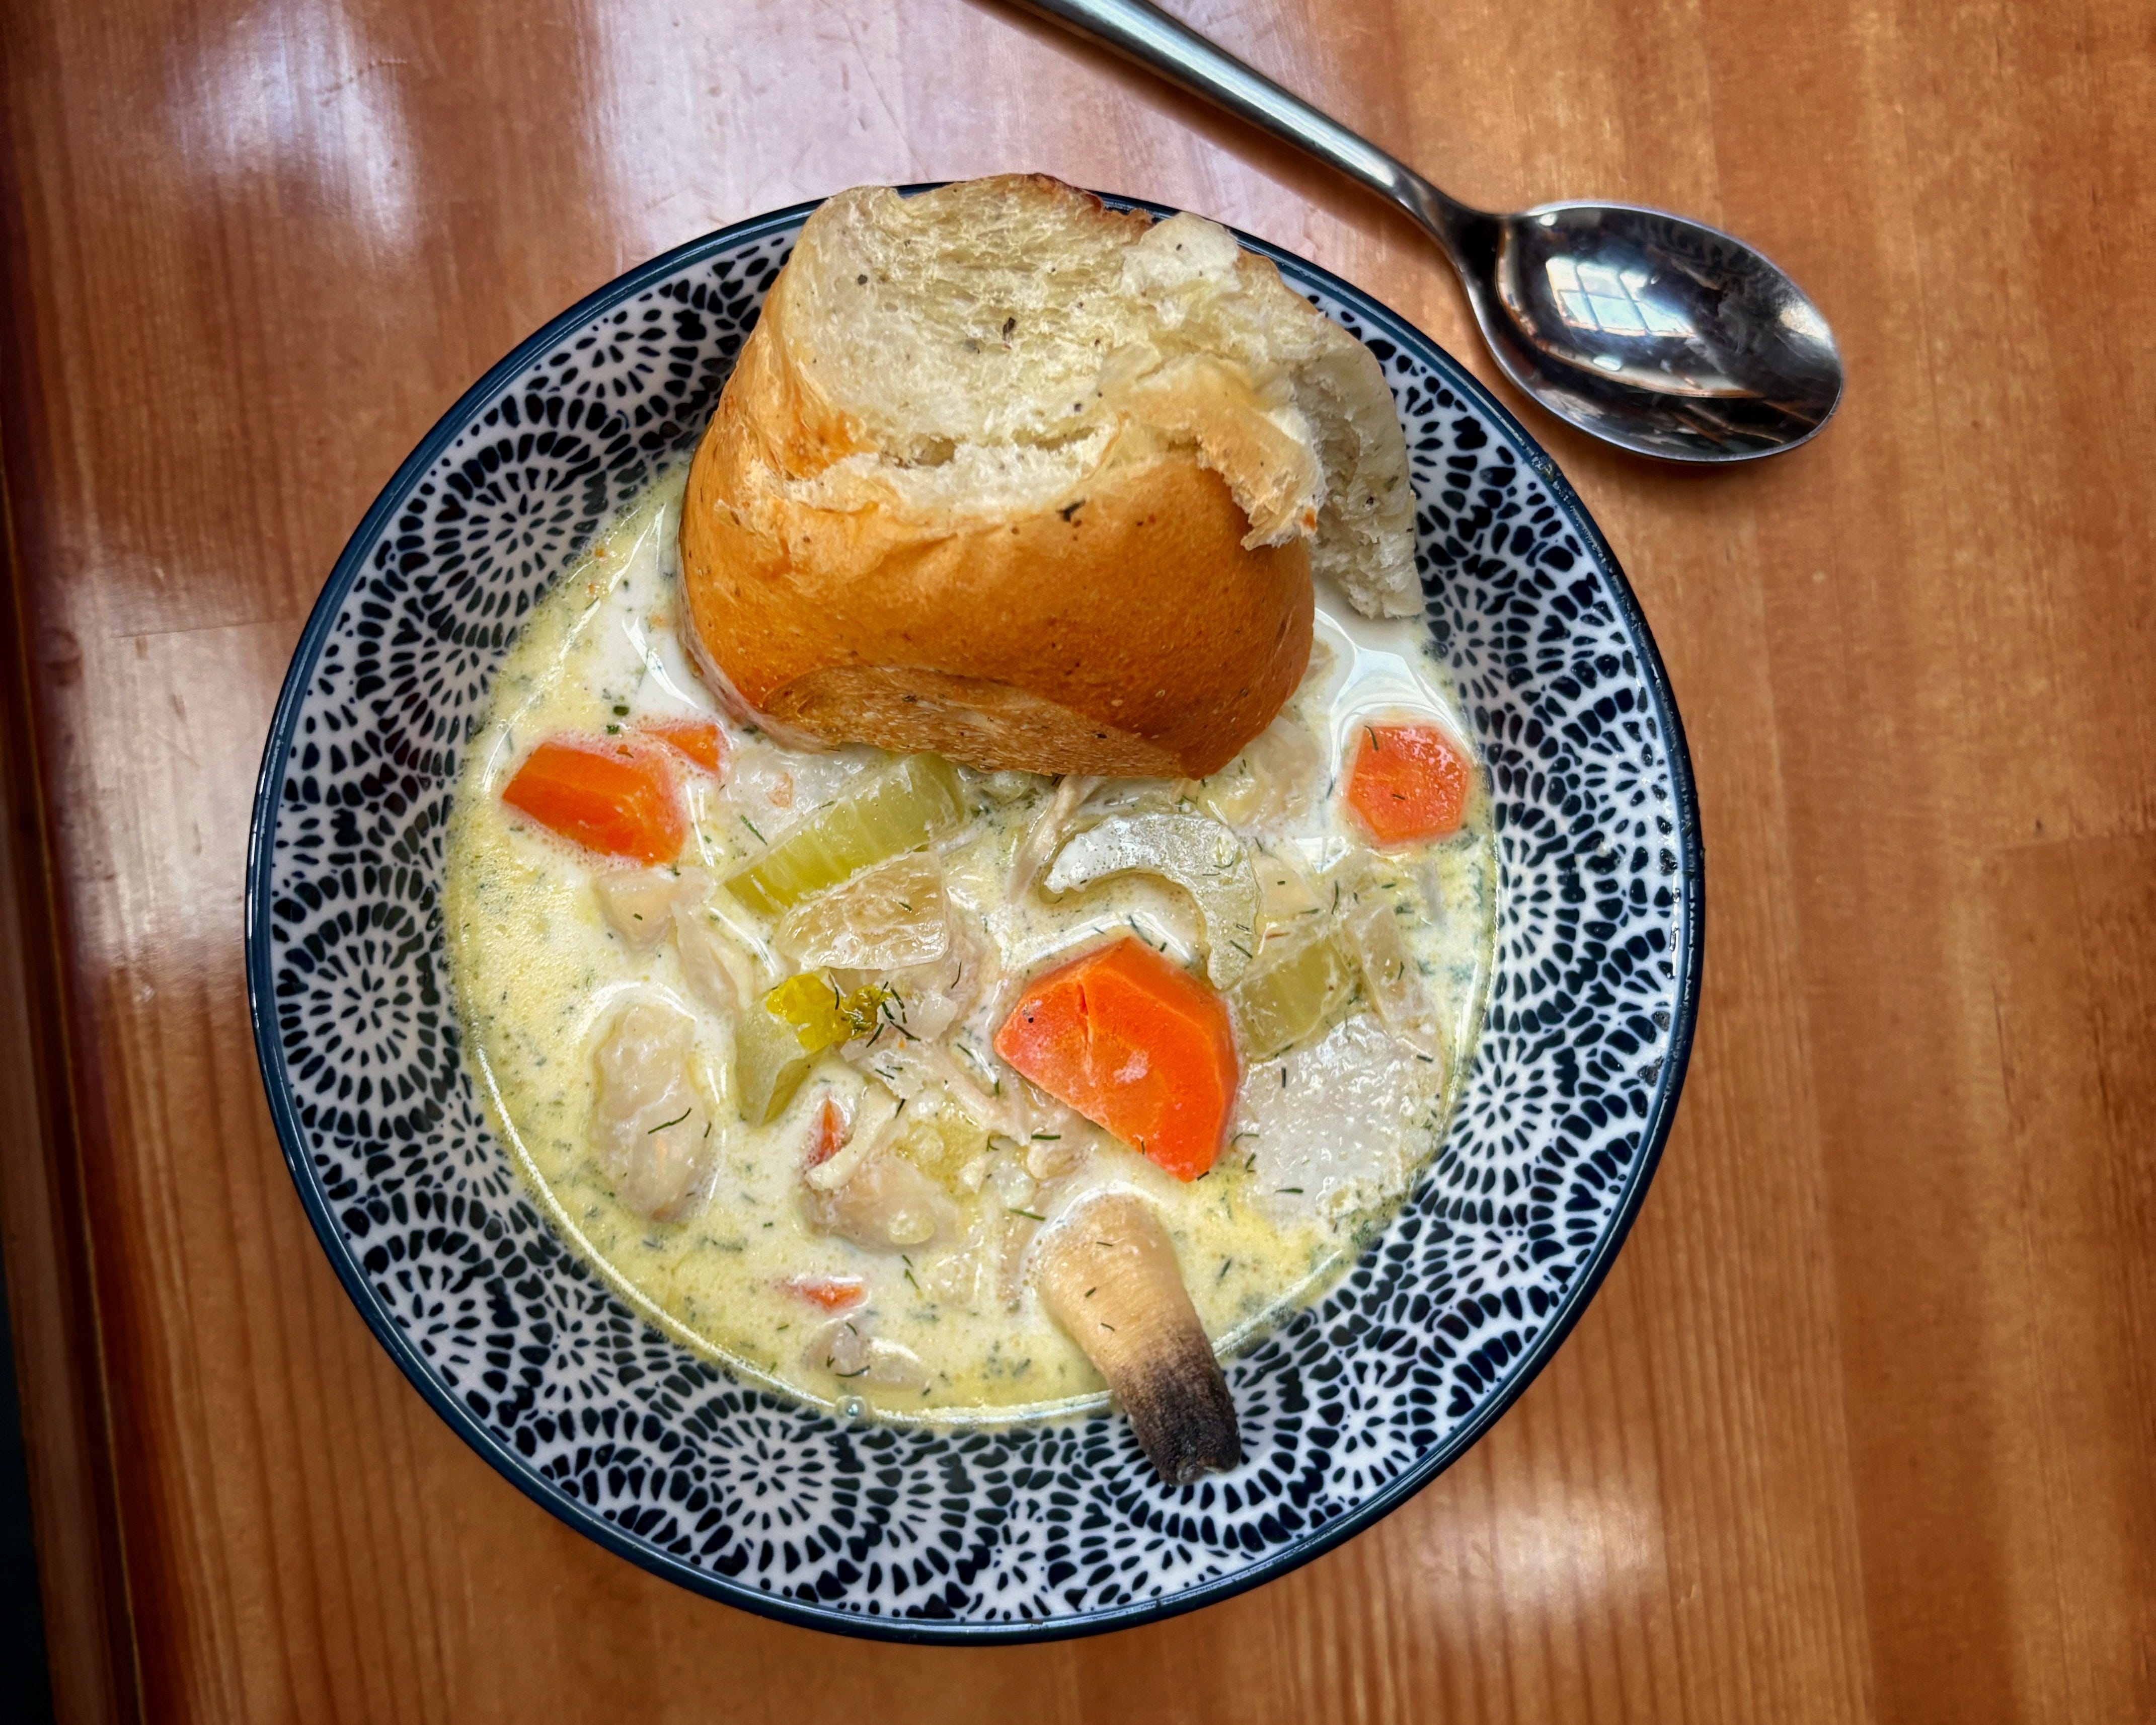
Field Guide: Your First Shellfish Harvest
Learn to find, harvest, and cook your first wild shellfish safely.

Most people assume harvesting shellfish requires specialized knowledge, expensive gear, or years of experience.
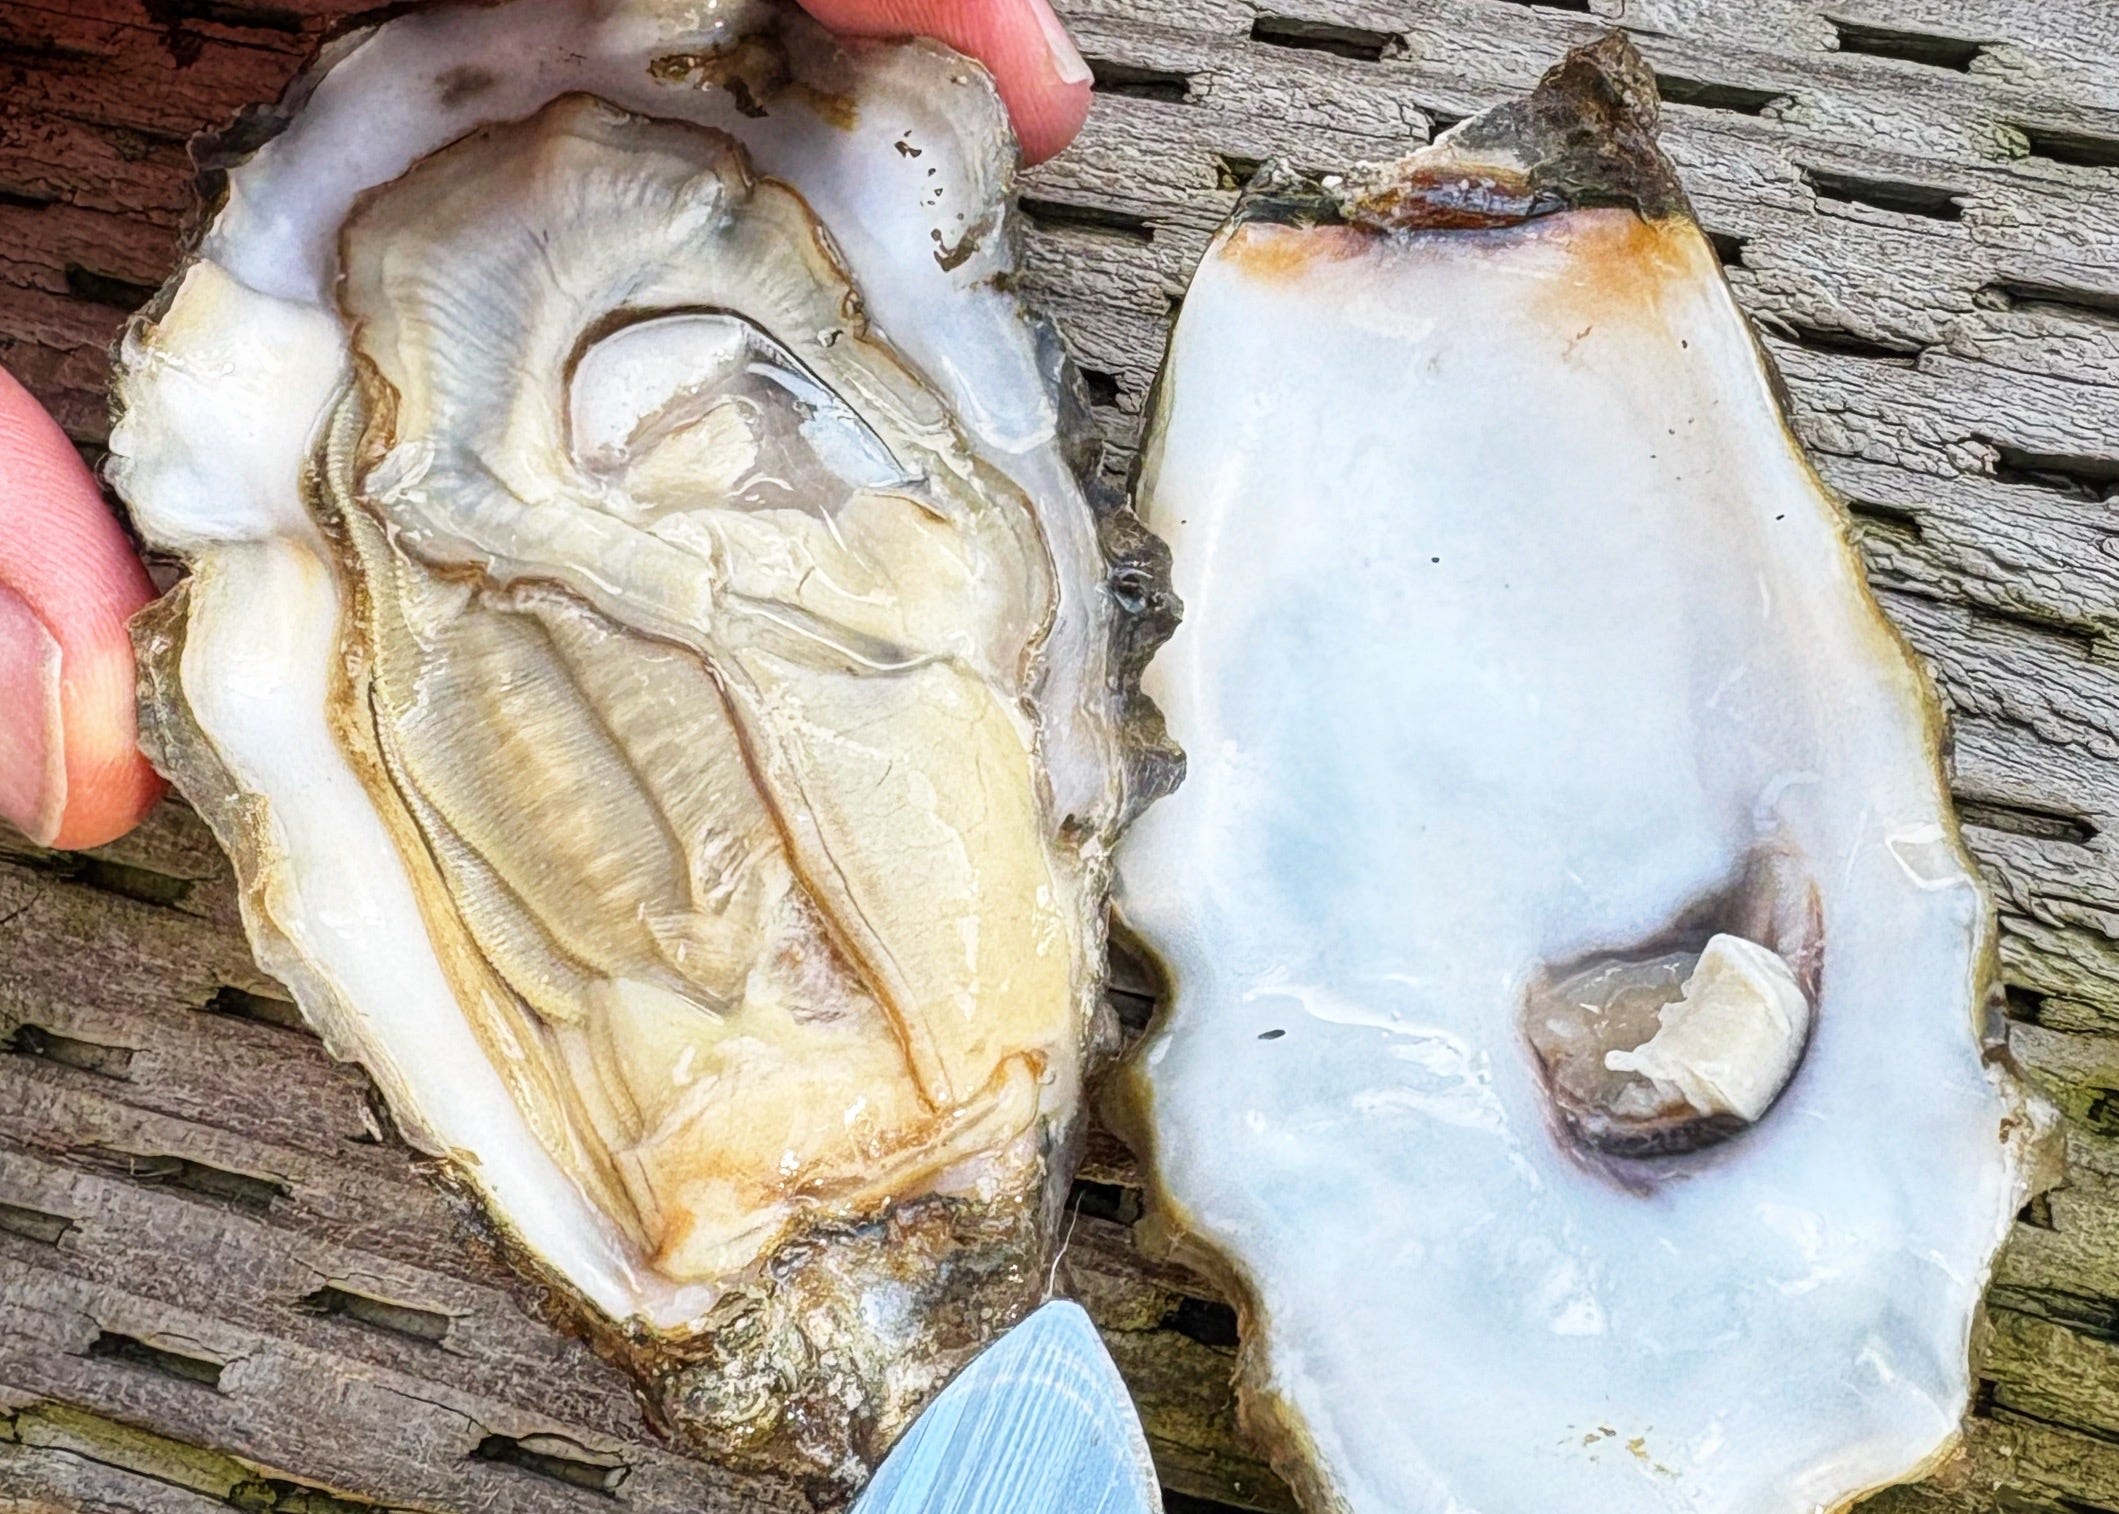
It doesn’t.
Your first successful shellfish harvest can happen this weekend.
Clamming Beginners Checklist
Before heading to the beach, make sure you have:
✓ A valid tidal waters fishing licence
✓ Current shellfish opening information
✓ A tide below 1 metre (negative tides are even better)
✓ A small clam shovel or sturdy garden trowel
✓ A bucket or mesh bag
✓ Rubber boots
✓ A measuring gauge
✓ Drinking water
That’s all you need.
This guide won’t make you an expert, but it will help you bring home your first meal.
Step 1: Check That Harvesting Is Open
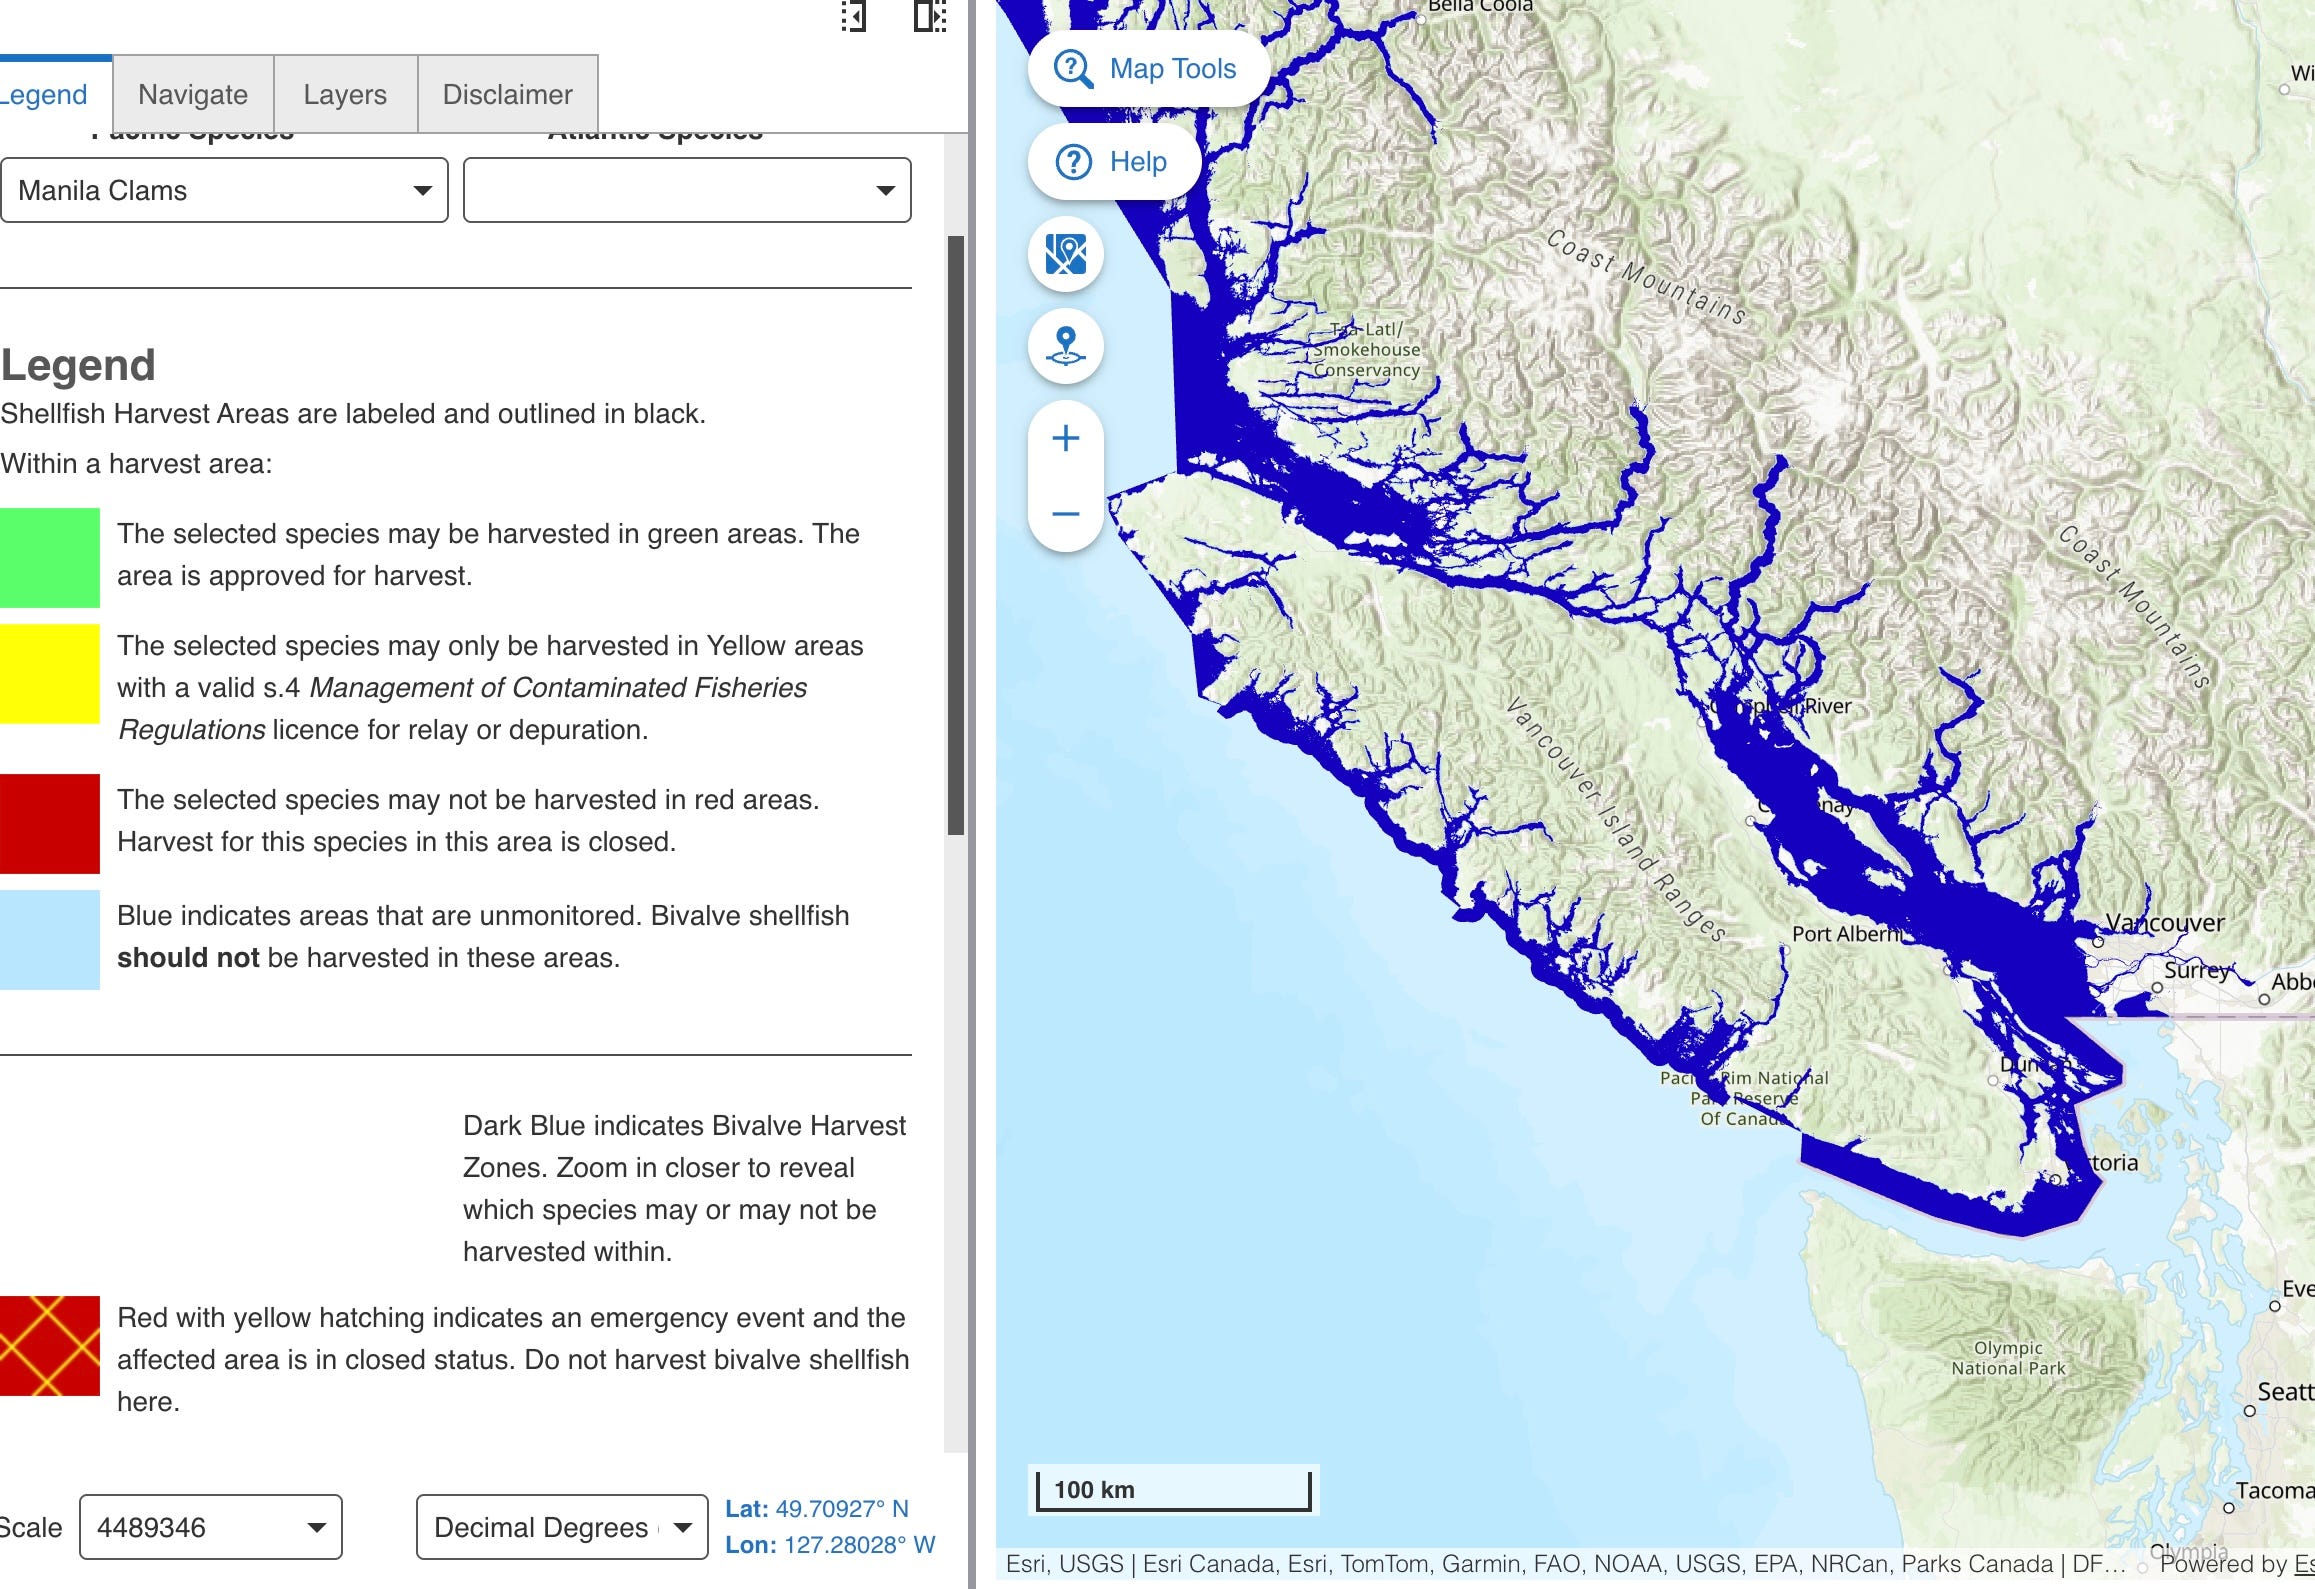
Before you touch a clam or oyster, check current closures.
In British Columbia, shellfish openings and closures change regularly due to:
Biotoxins
Sewage contamination
Water quality concerns
Always verify the beach is open before harvesting. In Canada, there are two sources. I’ve listed them below.
Resources:
Step 2: Start with Manila Clams
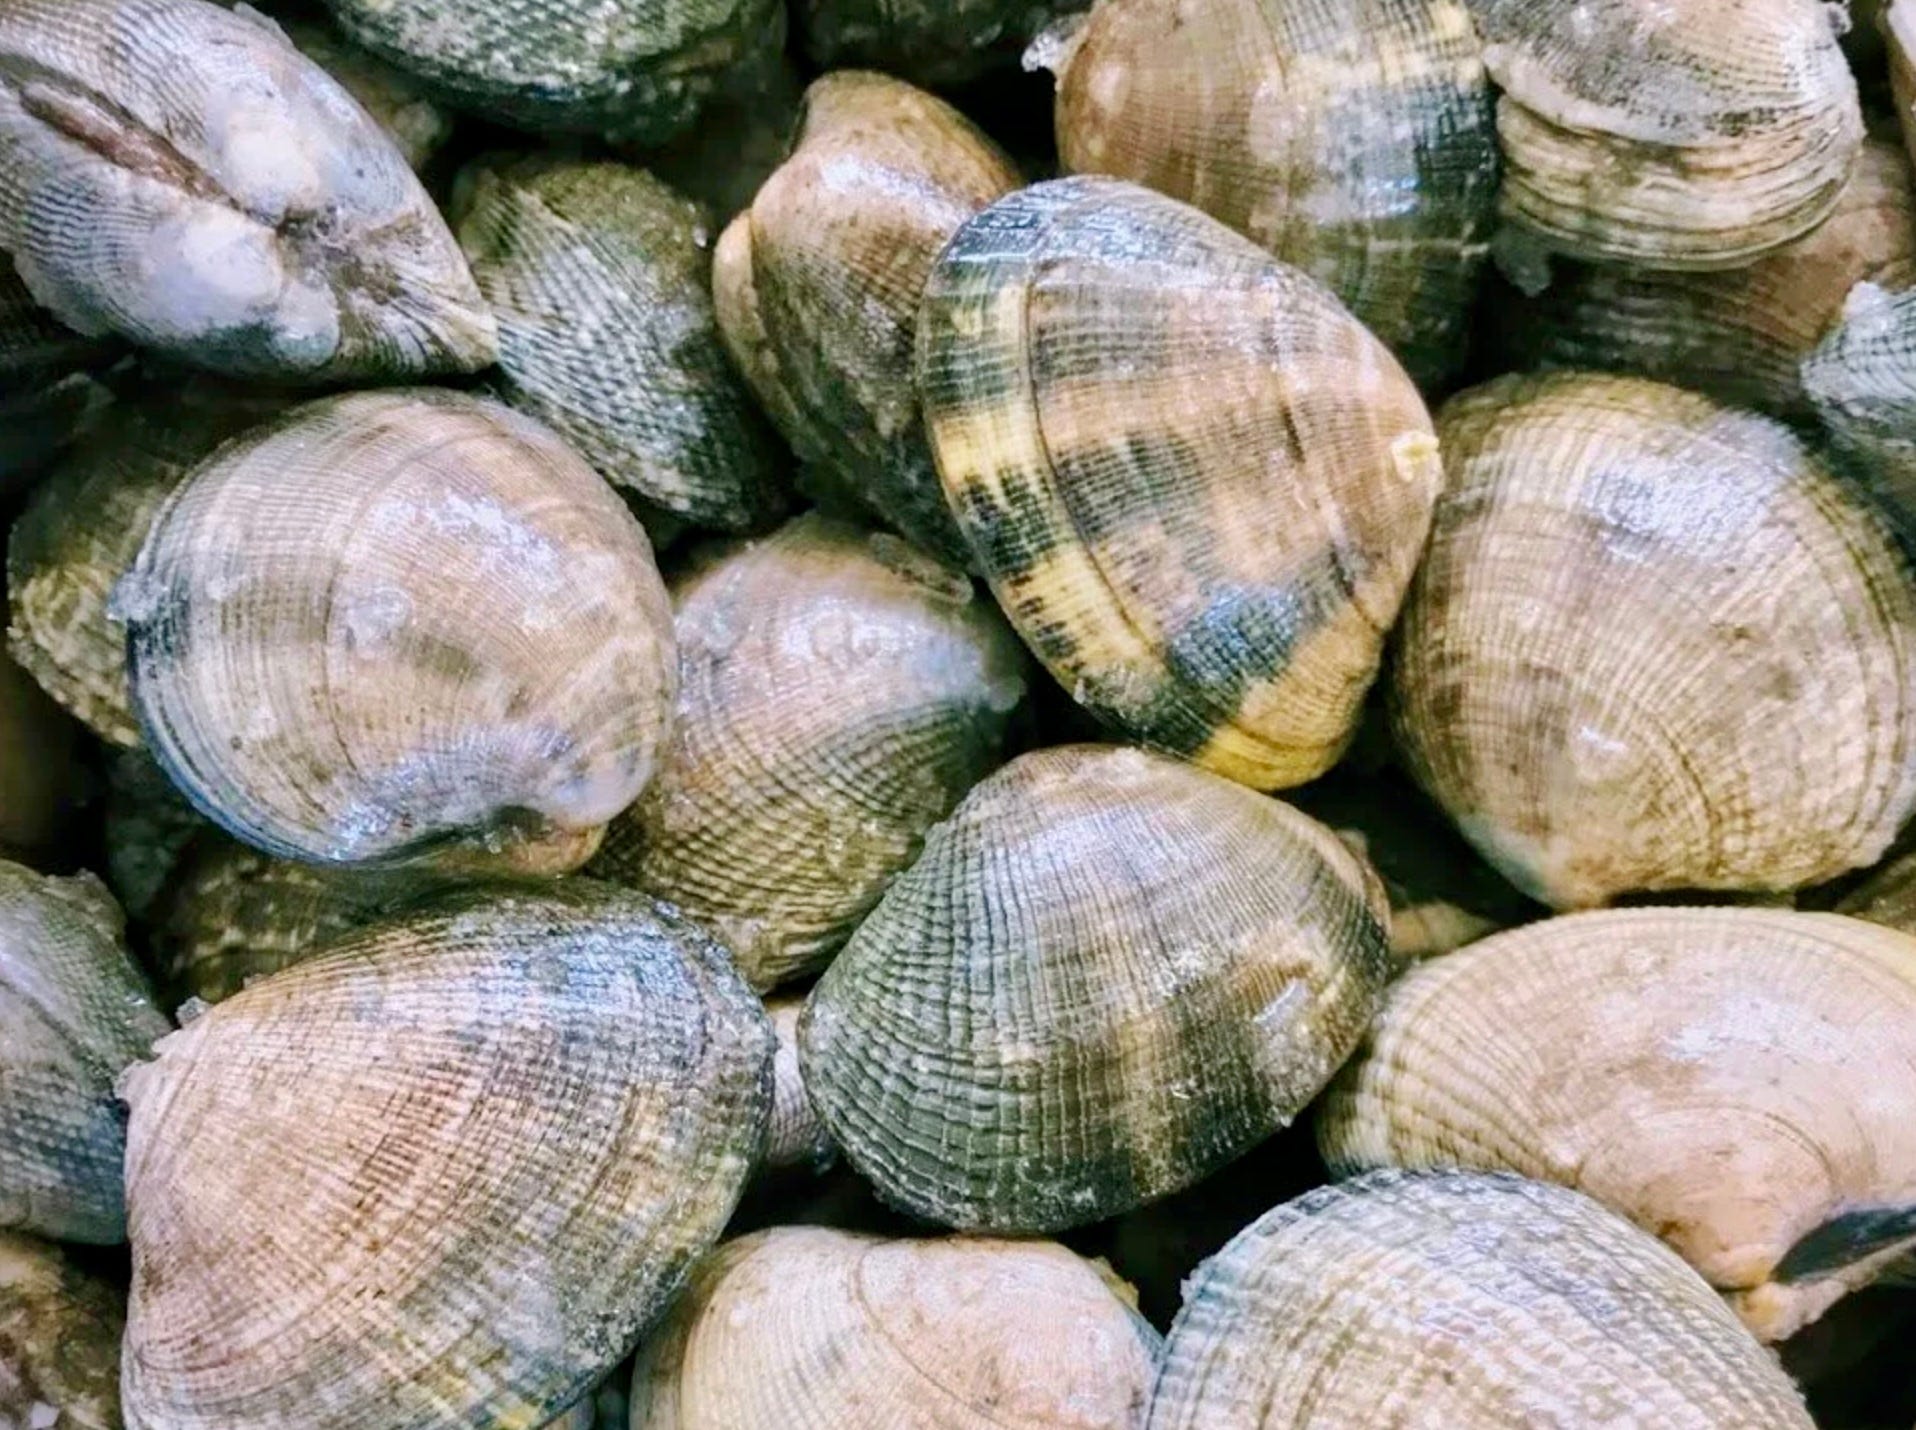
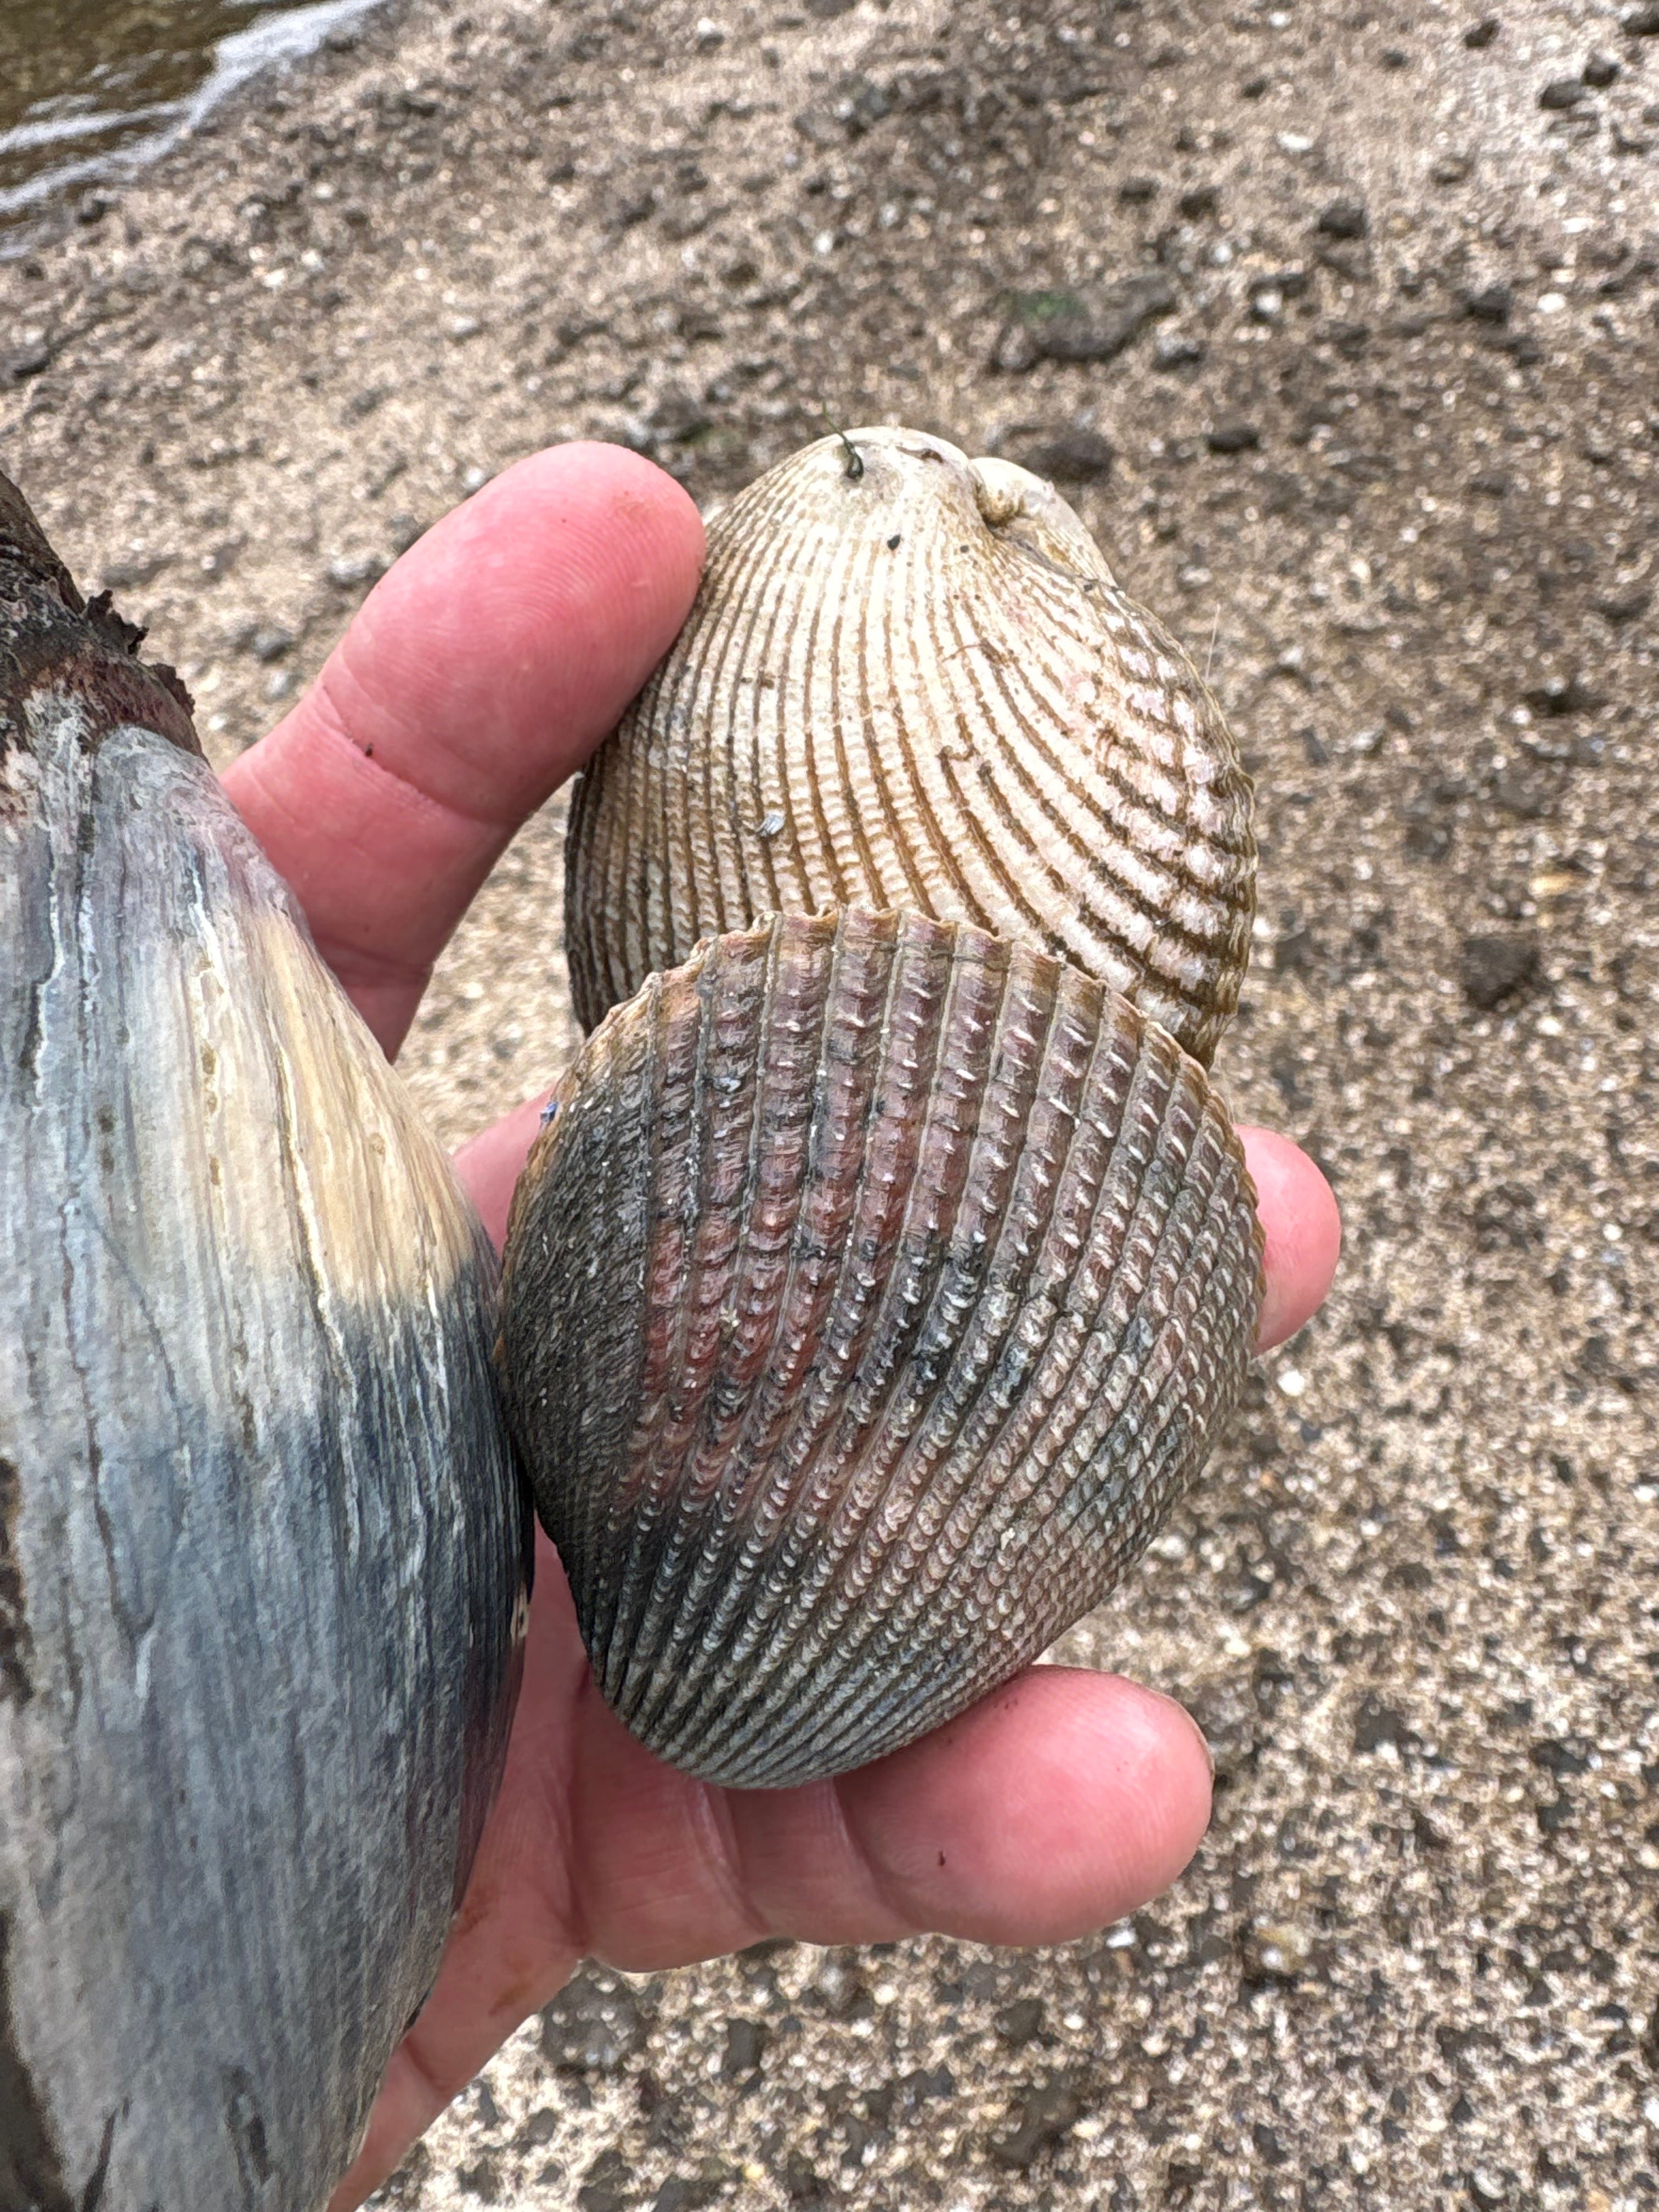
If you’re new, Manila clams are often the easiest target. They're one of the best beginner species because they check almost every box.
Why?
Abundant in many coastal areas
Easy to identify
Excellent table fare
Accessible at low tide
An introduced species, invasive. Eat them guilt-free
You don’t need a boat. You don’t need scuba gear. You only need access to a suitable beach.
Did you know?
Manila Clams are an invasive species from across the Pacific. They were introduced here in the 1920’s when people introduced the Pacific Oyster…also invasive. Follow the regulations, but this is one of the few wild foods that need to be harvested regularly!
Step 3: Read the Landscape
When I arrive at a beach, I don’t start digging. I start looking. Good shellfish beaches leave clues long before you ever put a shovel into the sand.
Learning to recognize those clues is one of the biggest shifts a new gatherer can make.
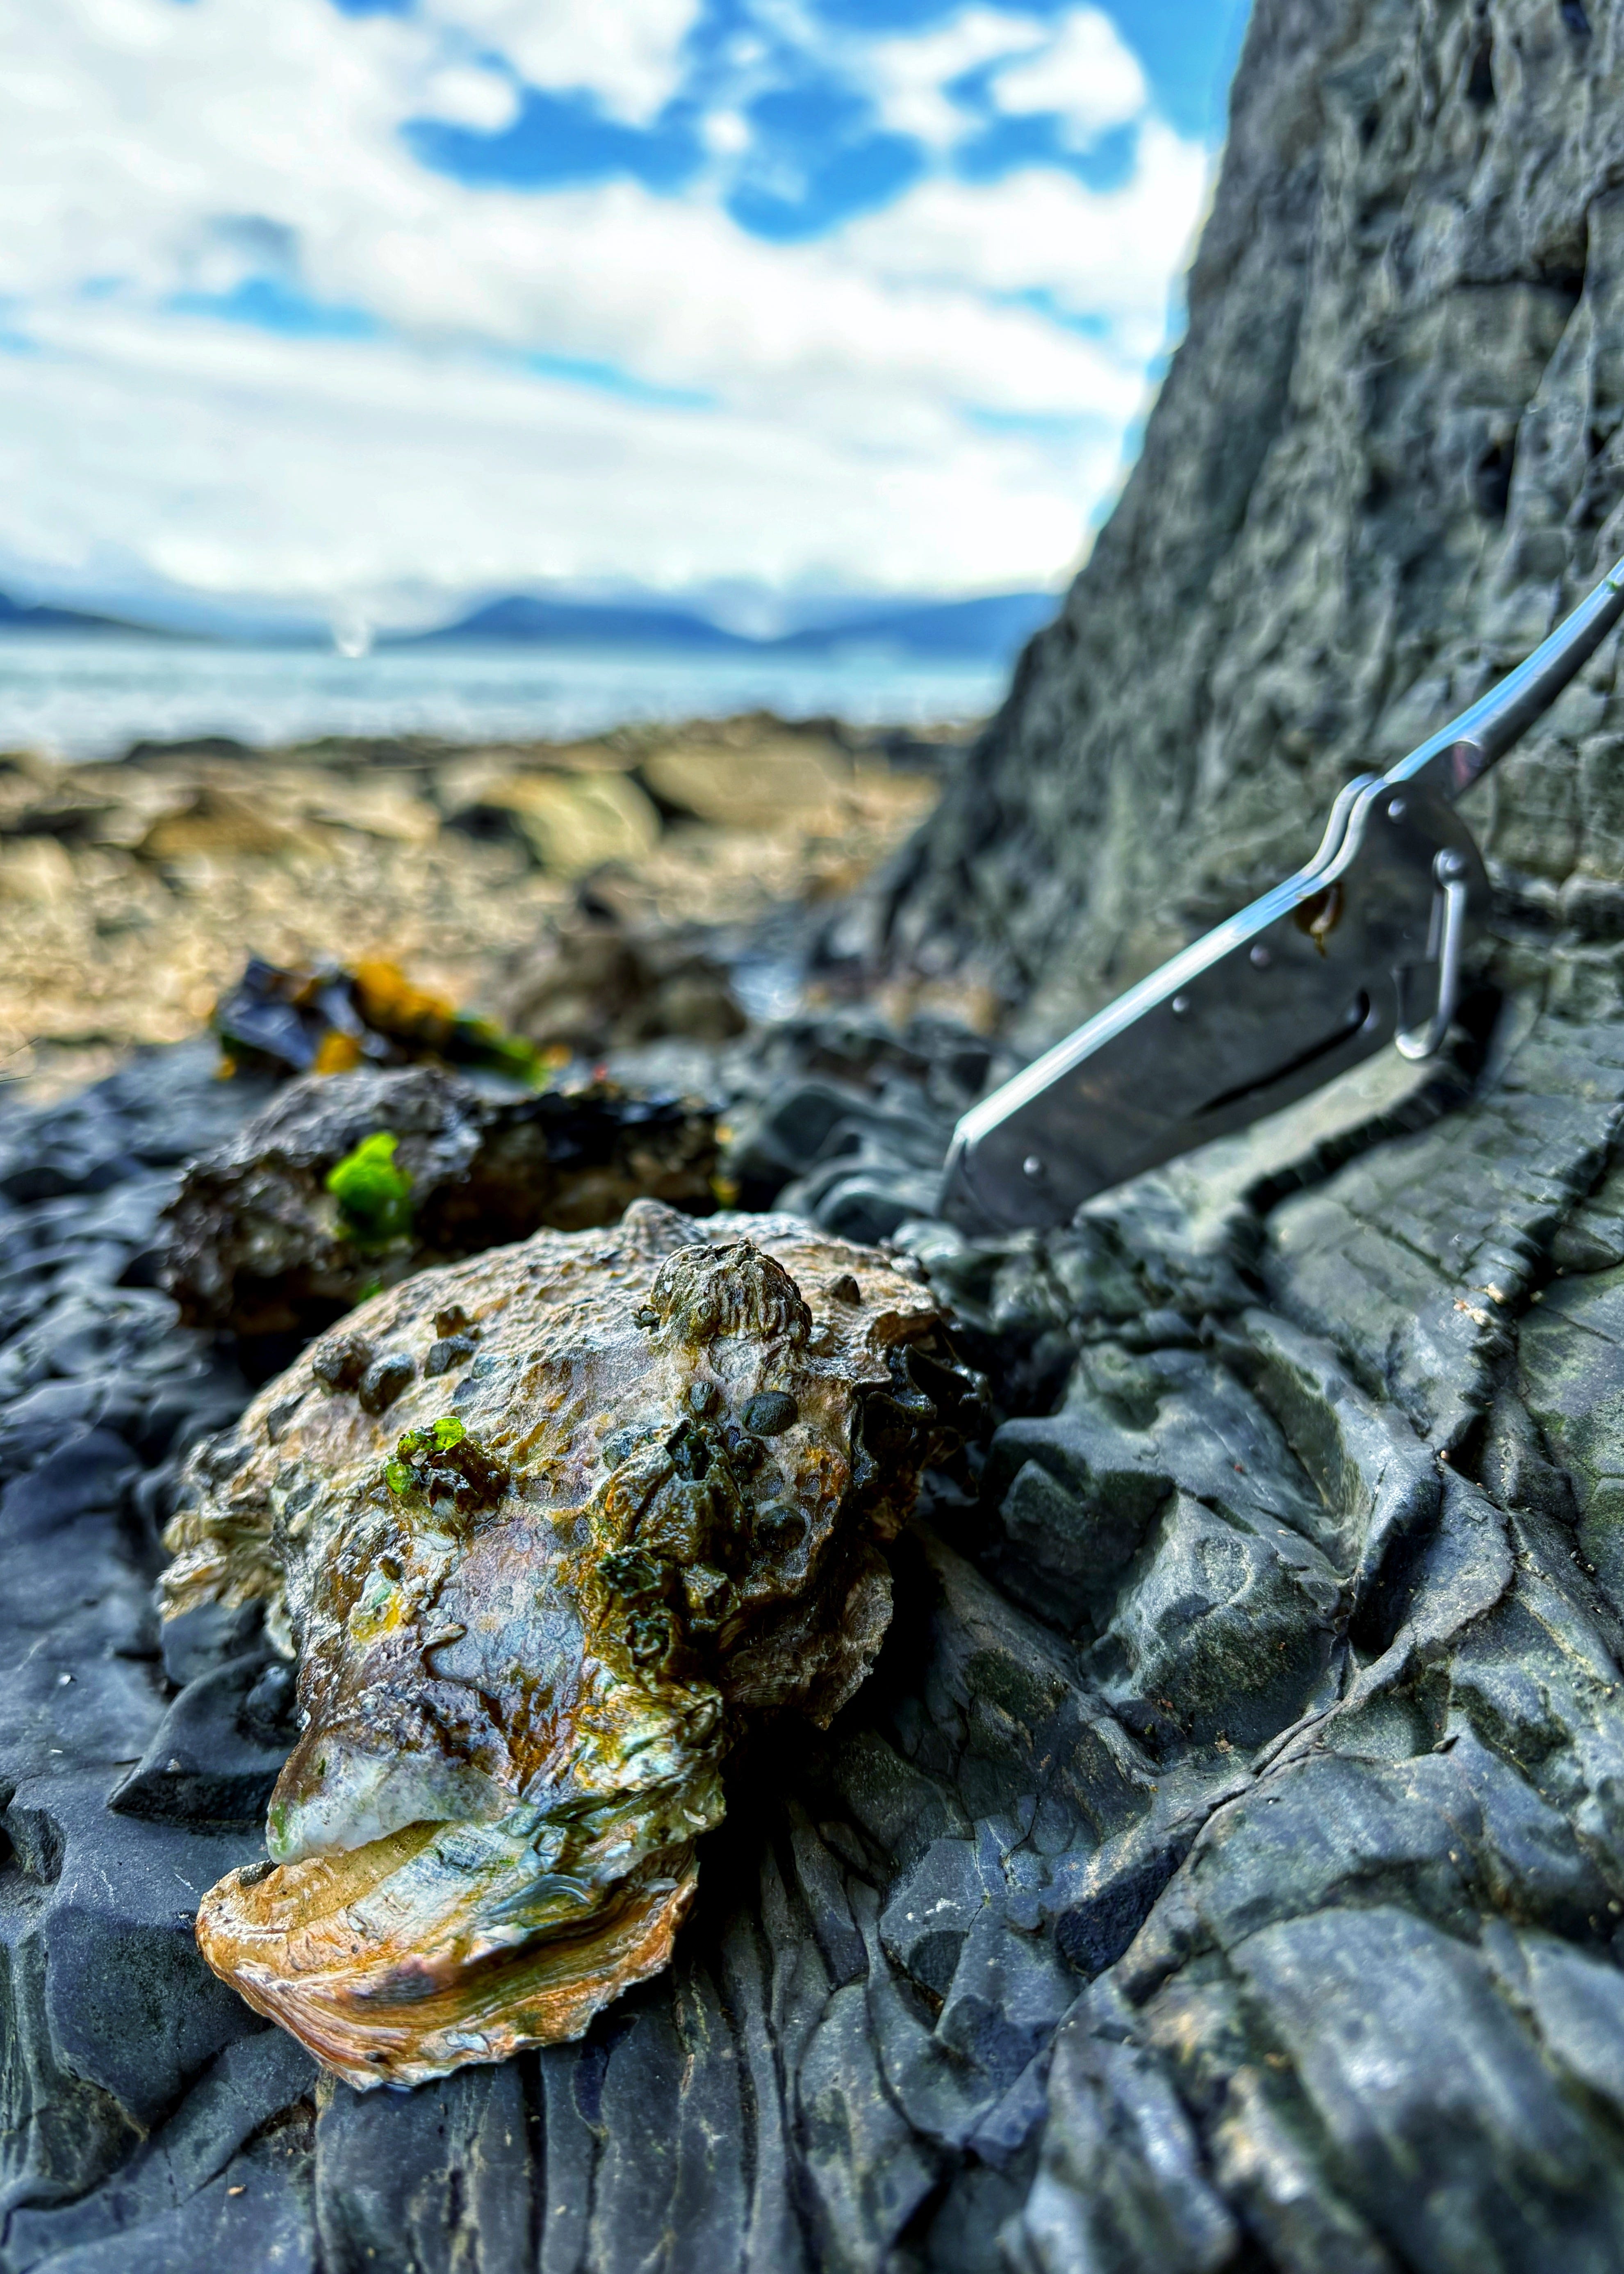
Clue #1: Oyster-Covered Rocks Nearby
This is one of the most useful indicators.
Many productive Manila clam beaches are located adjacent to rocky shorelines covered in oysters.
If you find oyster rocks beside a sand or mud flat, pay attention.
Clue #2: Firm Sand or Sandy Mud
The best beaches are often:
Firm underfoot
Sandy
Sandy mud
Pure mud is usually less productive.
Large cobble beaches are harder to work.
Clue #3: Paired Holes
Look closely at the surface.
Manila clams often reveal themselves through two small openings in the sand.
These paired siphon holes are one of the best signs that clams are present.
Step 4: Five Mistakes I Made
When I started gathering shellfish, I made nearly every beginner mistake.
Fortunately, they’re easy to avoid.
• Digging randomly instead of looking for signs.
• Arriving on mediocre tides.
• Ignoring nearby oyster-covered rocks.
• Digging too aggressively and breaking shells.
Every one of these slowed me down far more than a lack of experience.
Step 5: Time the Tide
The lower the tide, the more beach becomes available.
Every 20 or 30 centimetres of additional tide height can expose an enormous amount of new habitat.
For your first trip, look for tides below 1 metre, and if you can plan around a negative tide, even better.
Arrive early. Good shellfish beaches don’t stay exposed for long.
For beginners:
Aim for a low tide below 1 metre.
Negative tides are even better.
Arrive early.
Many good harvest areas are exposed for only a short window.
Step 6: Dig Carefully
Tools:
Small clam shovel
Garden trowel
Bucket
Start where you see signs. Dig slowly.
Many clams are found within the top 10–20 cm (4–8 inches). Don’t stab downward aggressively. You will break shells. Rather than stabbing straight down, slide your shovel underneath where you think the clam is and lift gently. You’ll recover more intact shellfish and damage far fewer.
Step 7: Keep Only Legal Shellfish
Know:
Species limits
Size limits
Daily possession limits
Regulations change. Check your current regulations before harvesting.
Step 8: Purge Your Clams
Once home:
Rinse off mud.
Place clams in clean saltwater.
Allow them to purge for several hours.
Change water if necessary.
This helps remove sand from the digestive tract.
Purging Clams Podcast Episode
Step 9: Keep It Simple
For your first meal:
Butter
Garlic
White wine (optional)
Fresh bread
The goal isn’t a gourmet recipe.
The goal is to eat something you found yourself.
What Successful Clamming Looks Like
Success isn’t filling a bucket.
Success is standing on a beach that once looked empty, noticing the clues, digging your first clam, and realizing the food was there all along.
The meal matters. But the bigger reward is learning to see something you couldn’t see before. Once you begin reading landscapes instead of simply walking through them, every beach, river, forest, and hillside becomes more interesting.
That’s the journey Food Afield is really about.